guideApril 9, 20262 min read
How to Set Up Your First Store
Learn how to create your store, configure terminals, and add products in Posterita.
Before You Start
Make sure you have your Posterita account created and you are logged in to the web console.
Tip: If you haven't created an account yet, visit posterita.com and sign up for a free trial.
Step 1: Navigate to Store Settings
From the dashboard, click on Settings in the sidebar, then select Stores.
Step 2: Create a New Store
Click the Add Store button in the top right corner. Fill in the following details:
- Store Name — A descriptive name for your location (e.g., "Main Street Shop")
- Address — The physical address of your store
- Currency — Select the currency for this store
- Store Type — Choose "Retail" for a standard store
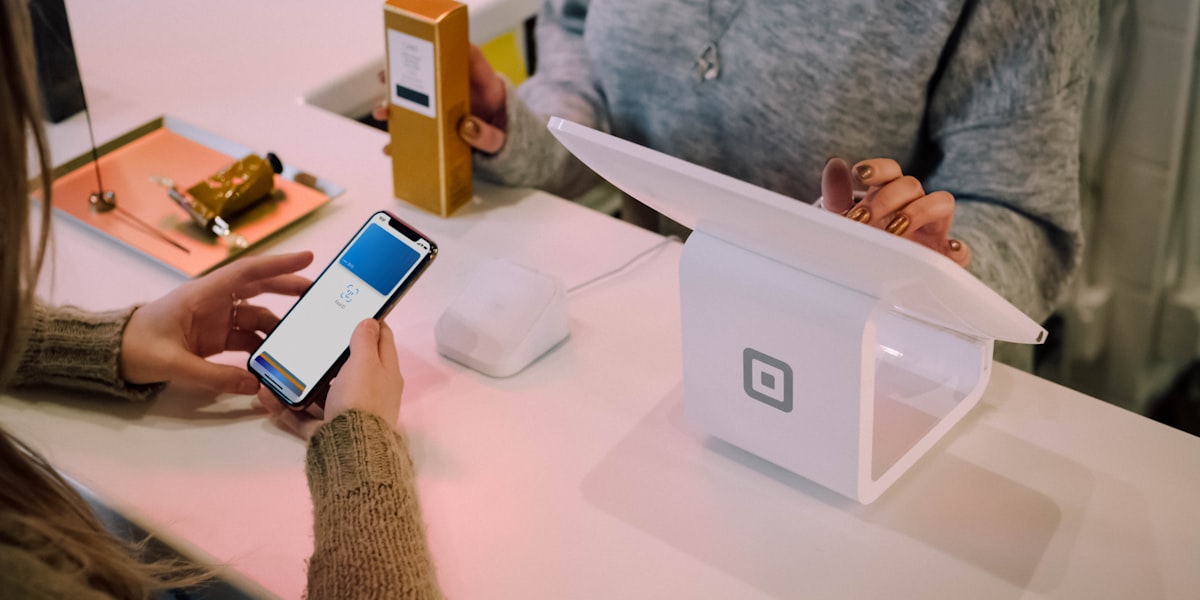
Step 3: Configure Your Terminal
Each store needs at least one terminal (point of sale). Posterita automatically creates a default terminal when you add a store.
Terminal Settings
You can customise your terminal settings including:
- Terminal name and code
- Receipt header and footer text
- Default payment method
Step 4: Add Your First Products
Navigate to Products and start adding your inventory. You can add products one by one or import them in bulk using a CSV file.
You're ready! Once you have products in your store, you can start processing sales from the POS.
What's Next?
Now that your store is set up, learn how to process your first sale.